
How to Add Vignette in CapCut PC 2025 (Simple Guide for Real Creators)
Do you want that cinematic look? Here’s how to add vignette in CapCut Pro PC easily, plus pro tips, examples, and editing tricks that work on every version.
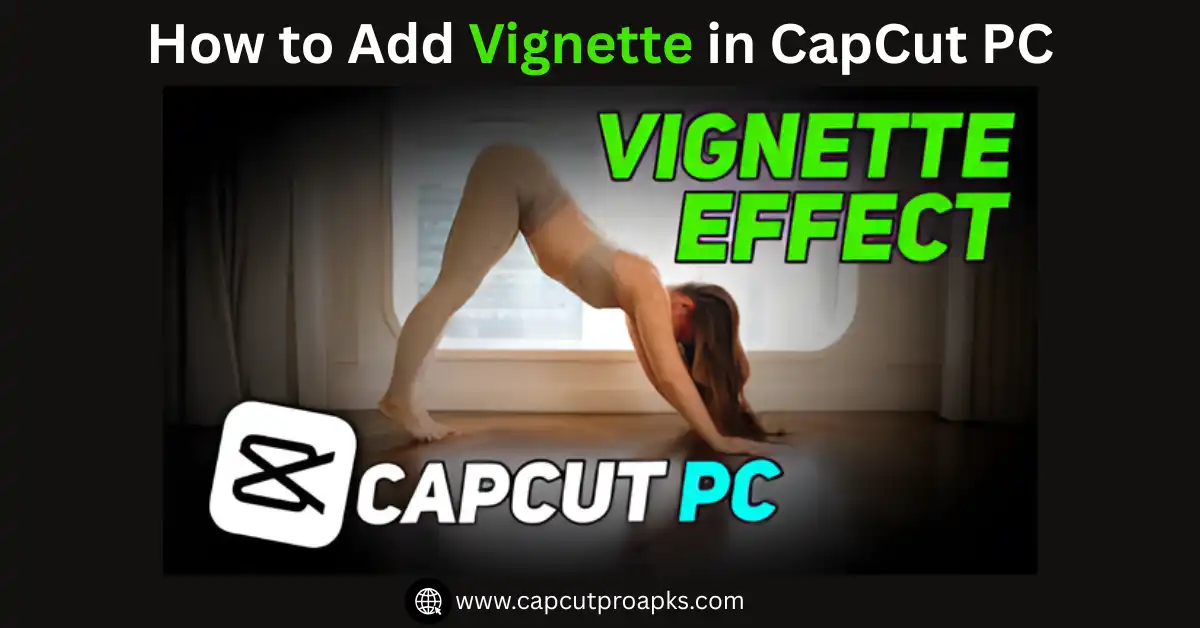
Introduction: How to Add Vignette in CapCut PC
You know that soft dark shade around a video that feels like a movie scene? That’s a vignette. It’s super simple but makes your edit look really nice.
Editing on CapCut Pro PC? Try adding a vignette! It can quickly turn your video from plain to powerful. This effect works great for vlogs, short films, or product videos, helping people focus on what really matters in your frame.
Hey everyone! If you’ve ever wanted that soft, cinematic look in your videos, this one’s for you. We’ll go over how to add a vignette in CapCut PC — step by step.
I’ll show you how to control the style, mood, and feel so your edits look super clean.
What Is a Vignette, and Why It Matters?
Let’s pause for a second before we get into editing. A vignette is a small effect that changes how the edges of your video look — darker or lighter — so people focus on what’s in the center. It’s a common trick used in vlogs and films to make videos feel warmer and more focused.
On CapCut PC, the vignette tool is part of the Effects panel, and the best part? It’s really easy to use and change the way you like. The desktop version lets you adjust everything more freely than the mobile app.
Why Use CapCut PC for Vignette Editing
You know how simple CapCut is on your phone? The PC version is even smoother. It gives you more control, so your vignette looks clean and perfect.
1. Bigger Canvas, More Precision
The big screen lets you see every little detail of your vignette. It’s easier to notice how it fits with the light, colors, and transitions.
2. Advanced Controls
CapCut PC lets you change how strong, big, or soft your vignette looks. This helps your video stay bright and clean, just like a real movie.
3. Better Integration with Color Tools
A vignette works great when you mix it with brightness and color tools. It helps tell your story better, especially in cinematic or close-up scenes.
You can add one on your phone, but it looks cleaner and easier to control on PC.
Step by Step: Add a Vignette in CapCut PC
Now for the fun part — let’s walk through the process together.
Step 1: Open CapCut on your computer and pick your project
Go ahead and open CapCut on your desktop or laptop. If it’s not installed, you can easily download it from the CapCut website. After that, click “New Project” or open your saved one. Then drag your videos into the timeline to begin editing.
Step 2: Select the Clip You Want to Edit
Click the clip on your timeline where you want to add the vignette. You can use it on one clip or copy it to others later to keep the same look.
Step 3: Go to the Effects Panel
At the top, press “Effects.” It’s right by “Text” and “Stickers.” The side will show lots of fun effects.
Step 4: Search for “Vignette”
In the search box, type “vignette.” You will see choices like Vignette Basic, Dark Edge, or Cinematic Focus.
Pick the one you like best and press “Add to Timeline.” Now, the vignette will show up on top of your video.
Step 5: Adjust the Settings
Click on the vignette layer to open the settings. Now you can change a few things:
Intensity makes the edges darker or lighter.
Feather makes the edge soft or sharp.
Size shows how much of the picture stays bright.
Try keeping the numbers low, around 30–40%, so it looks nice and not too dark.
Step 6: Preview and Refine
Hit the Spacebar or the Play button to preview your video. Adjust the vignette intensity or size until it looks natural.
You can even stack multiple effects — like color grading + vignette — to make your shot stand out.
Tips to Make the Vignette Look Professional
Adding a vignette is easy. To make it look perfect, learn a few editing tricks.
1. Match the Mood
Dark vignette looks cool for emotional scenes. Light vignette fits sunny or cute clips. Try them in CapCut PC!
2. Avoid Overdoing It
Don’t use too much vignette — it can look strange. Keep it gentle so it feels natural.
3. Combine It with Color Grading
Once the vignette is added, open Adjustments and fix the brightness or contrast to make it look balanced.
4. Use Keyframes for Dynamic Control
CapCut PC supports keyframes! You can animate your vignette to change intensity across clips. For example, increase vignette during a fade-out for extra drama.
Common Mistakes to Avoid When Adding Vignette
Even pros slip up sometimes. Here are a few mistakes to dodge when using vignette effects in CapCut PC:
Remember: editing is like seasoning — a little goes a long way.
Vignette in CapCut PC vs. Mobile App
When you edit on both, you can tell they don’t work the same.
1. Precision Control
On PC, you can adjust everything carefully. On mobile, it’s faster to drag, but you can’t be as exact.
2. Screen Real Estate
The desktop gives you a big preview and lots of tools on screen. It’s easier to see how the vignette fits your video.
3. Workflow Efficiency
CapCut PC gives you tools like layers, keys, and markers to help you work faster on many clips. Use CapCut PC if you want more control and smooth, clean results.
Pro Tip: You can even make your own vignette using overlays!
If the built-in vignette looks too simple, try this — add a black overlay and lower the opacity to create your own unique style.
- Just go to Insert, choose Color Clip, and pick Black to make your base layer.
- Add it above your video on the timeline.
- Apply a mask (choose Circle or Linear).
- Change the feather and opacity so the edges blend nicely.
- You can create round shapes or move the light where you want.
- If you edit short movies or ads, this helps your work stand out.
Troubleshooting: When the Vignette Doesn’t Show
Sometimes, the vignette might not appear as expected. Here’s what to check:
Your vignette should be on the top layer of your video.
If it’s too light, make the opacity stronger.
Pull the vignette layer so it matches the video length.
Always use the latest CapCut update for best results.
Still not right? Just close and reopen the project.
Pro Tips for Cinematic Looks
Once your vignette is ready, try adding more style.
Add a soft grain to give it a real look.
Use color filters to match the feeling you want.
Mix in gentle sounds for mood.
These small edits can make your video feel like a movie.
Conclusion:
We’ve talked about how to add and fix vignette in CapCut PC — from easy steps to advanced tips. You now know how it works and how to make it look great. It might seem small, but vignette helps tell your story. It adds focus and gives your video that smooth, movie-like style. So go ahead, open CapCut PC, and try it out on your next edit.
If you found this helpful, share your thoughts or drop your questions in the comments below — I’d love to hear from you.
FAQ Section:
Q1: How to add vignette in CapCut PC?
Start CapCut PC, go to Effects, search for “Vignette”, drop it on your timeline, and change the settings until it looks right.
Q2: Can I customize vignette size in CapCut PC?
Yes! Select the vignette layer and adjust how big, soft, and strong it is.
Q3: Is vignette available in CapCut free version?
Absolutely! The vignette is in the free CapCut desktop version. No premium needed.


