
Davinci Resolve Change Video Size to Crop Easily in 2025 (Quick Easy Guide)
Learn how to davinci resolve change video size to crop easily with step-by-step instructions, tips, and clean framing techniques. Perfect for beginners.
Introduction
You know when you’re editing a clip and the frame just doesn’t look right? Maybe there are black bars. Maybe the subject is too far away. Or maybe you just want a cleaner, tighter shot. That’s when you need to crop or change the video size. And if you’re working in DaVinci Resolve, the process is easier than it seems.
If you came here searching how to davinci resolve change video size to crop, you’re exactly in the right place. I’ll walk you through the steps slowly and clearly, even if you’re new to Resolve. No confusing jargon. No long lectures.
By the end, you’ll know:
- How to crop videos in DaVinci Resolve (step-by-step).
- How to zoom, resize, and reframe correctly.
- How to avoid quality loss (the mistake 90% of beginners make).
- How it compares to mobile editors like CapCut Pro.
- When to crop manually vs. using aspect presets.
This guide is written from real editing experience—not copy-paste theory.
Why Cropping & Resizing Matters
Let’s be real: framing matters. A good crop changes the feeling of your video. It directs attention. It removes distractions. It makes your edit feel professional—even if the footage itself wasn’t perfect.
Maybe you’re:
- Turning horizontal footage into vertical for Shorts/TikTok/Reels.
- Removing empty background space.
- Reframing a subject for better storytelling.
- Fixing a poorly composed shot.
Cropping is more than cutting a part of the frame. It helps guide the eye to the right spot. That’s why knowing how to davinci resolve change video size to crop is so important.
Before We Start: Quick Setup
Use DaVinci Resolve 17 or a newer version.
If you don’t have it yet, you can get it from the official website.
Official Link: https://www.blackmagicdesign.com/products/davinciresolve
Avoid unofficial installers—they can break features or install malware.
How to Change Video Size and Crop in DaVinci Resolve
Let’s start with the main method you’ll use for 90% of edits.
Step 1 — Import Your Footage
- Open DaVinci Resolve.
- Create or open a project.
- Drag your clip into the Media Pool.
- Drag it to the timeline.
Easy.
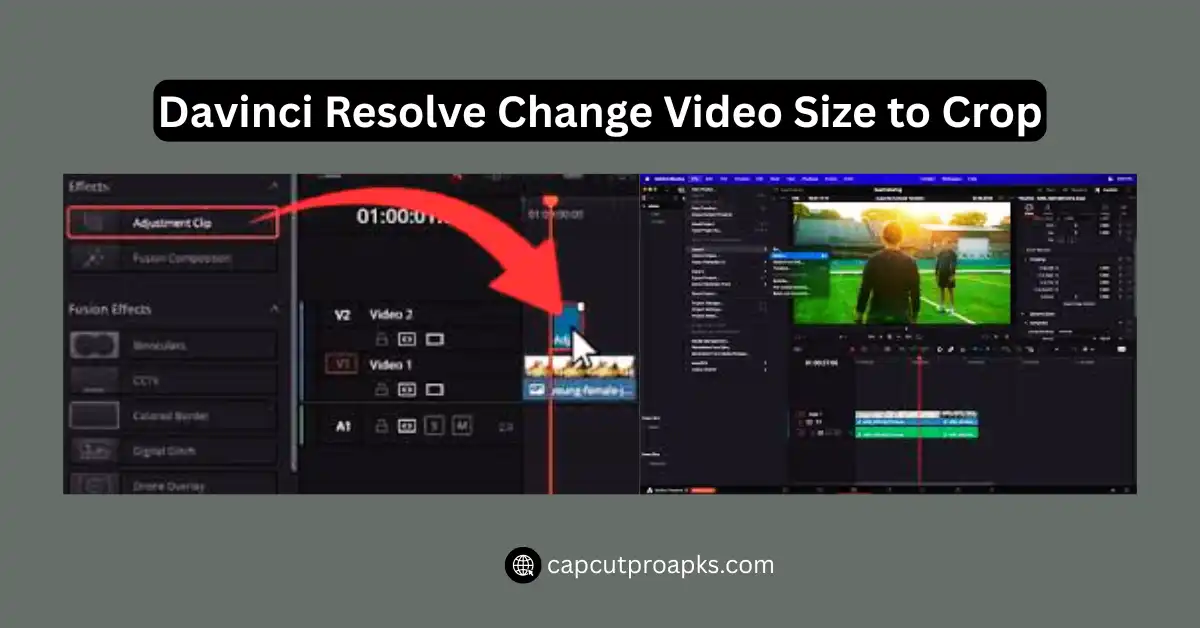
Step 2 — Open the Inspector
Click your clip → Look to the top-right → Click Inspector.
If you don’t see it:
- Press Shift + I to toggle it.
Step 3 — Resize the Video
Inside the Transform section:
- Zoom adjusts size.
- Position X/Y lets you move the frame.
- Rotation Angle rotates (ignore it for cropping, unless needed).
Tip:
Don’t zoom more than 1.300 unless necessary. Beyond that, footage may look soft.
Step 4 — Crop the Video
Scroll down to the Cropping section in the Inspector.
You’ll see:
- Crop Left
- Crop Right
- Crop Top
- Crop Bottom
Drag the sliders or type numbers.
Your frame will adjust instantly.
This is the essential davinci resolve change video size to crop move.
The Difference Between Cropping and Zooming
People often confuse them.
| Action | What It Does | Best For |
| Zoom | Makes everything bigger by scaling the entire frame. | Reframing, subject focus |
| Crop | Removes parts of the frame (like trimming edges). | Removing distractions |
Use them together for clean results.
Avoid Quality Loss (Common Mistake)
When you zoom too much, footage becomes blurry. To avoid this:
- Check your footage resolution.
- 4K footage gives more zoom room than 1080p.
- 4K footage gives more zoom room than 1080p.
- Try Re-Edit in Fusion if you need extreme reframing.
- If you’re exporting vertical formats (9:16):
- Reframe instead of zoom whenever possible.
Professional editors do this all the time.
Crop for Vertical Formats (Instagram, TikTok, Shorts)
If you’re making vertical content, don’t crop randomly.
Steps to Convert Footage to Vertical
- Go to File → Project Settings.
- Set Timeline Resolution to 1080 x 1920.
- Set Timeline Frame Rate to match your footage.
- Click Save.
Now adjust Zoom and Position to center your subject.
This prevents awkward cuts and keeps quality sharp.
Cropping with On-Screen Controls (Fast Method)
If you like doing things visually:
- Select clip.
- Click the Transform icon under the preview.
- Drag blue corner handles to resize.
- Drag inside frame to reposition.
This feels similar to editing in apps like CapCut for Android.
DaVinci Resolve vs CapCut (Real Comparison)
Many editors start with mobile apps like:
And yes, CapCut is easy. But it’s limited.
| Feature | DaVinci Resolve | CapCut Pro / CapCut APK |
| Cropping Precision | Very High | Medium |
| Color Grading | Industry Standard | Light |
| Film Effects | Professional | Basic–Medium |
| Learning Curve | Higher | Very Easy |
If you’re moving from CapCut Pro APK or CapCut Pro APK Download Latest Version, DaVinci Resolve will feel like a big upgrade.
Quick Note About Mod APKs
→ Use the official CapCut here: https://www.capcut.com/
Advanced Cropping Using the FusiYou’ll see searches like:
- CapCut Mod APK
- CapCut Mod APK Download
- CapCut APK Download
- CapCut Old Version
Be careful. Mod APKs are often modified, unsafe, and illegal to use.
Safe option:
on Page
If you want cinematic control, try Fusion.
Steps
- Select clip → Go to Fusion tab.
- Add a Transform Node.
- Add a Crop Node.
- Connect: MediaIn → Transform → Crop → MediaOut.
This allows:
- Mask-based crops
- Pan & Scan movement
- Cropping animations
It’s more work, but it’s powerful.
H2: Animated Crop (Punch-In Effect)
You’ve seen vloggers do this. It looks like a zoom into the speaker for emphasis.
Steps
- Select Clip → Inspector.
- Go to start of timeline.
- Add keyframe to Zoom.
- Move playhead forward.
- Increase Zoom slightly.
Smooth. Clean. Engaging.
Troubleshooting & Fixes
| Problem | Cause | Fix |
| Video looks blurry | Too much zoom | Use 4K footage or reduce zoom |
| Video is off-center | Position values changed | Reset Position in Inspector |
| Black bars appear | Aspect ratio mismatch | Change project resolution |
Conclusion
In the above article, I have covered how to davinci resolve change video size to crop without getting lost in complex menus or advanced film terminology.If you follow these steps, cropping and resizing will start to feel easy. It will feel like something you just know how to do. No stress. No confusion. Whether you make films, short videos, or simple edits, these tools will help your video look clean and on purpose. If this helped you, please say something below or ask anything. I’d love to talk.
FAQs
Q: How do you crop and resize a video in DaVinci Resolve?
Select your clip, open Inspector, then use Zoom to resize and Cropping sliders to trim the edges.
Q: What is Ctrl+B in DaVinci Resolve?
It splits the clip at the playhead.
Q: How do you change the size of DaVinci Resolve?
Open Inspector, then adjust Zoom to resize the clip.
Q: How to change 1920×1080 to 1080×1920 in DaVinci Resolve?
Go to Project Settings, set timeline to 1080×1920, then reframe with Zoom.
Q2: Does cropping reduce video quality?
Not directly. But zooming too much can. Use 4K footage for best results.
Q3: Can I convert horizontal video to vertical in Resolve?
Yes. Change timeline resolution to 1080×1920, then reframe using Zoom + Position.


