
How to Add Your Own Fonts to CapCut PC
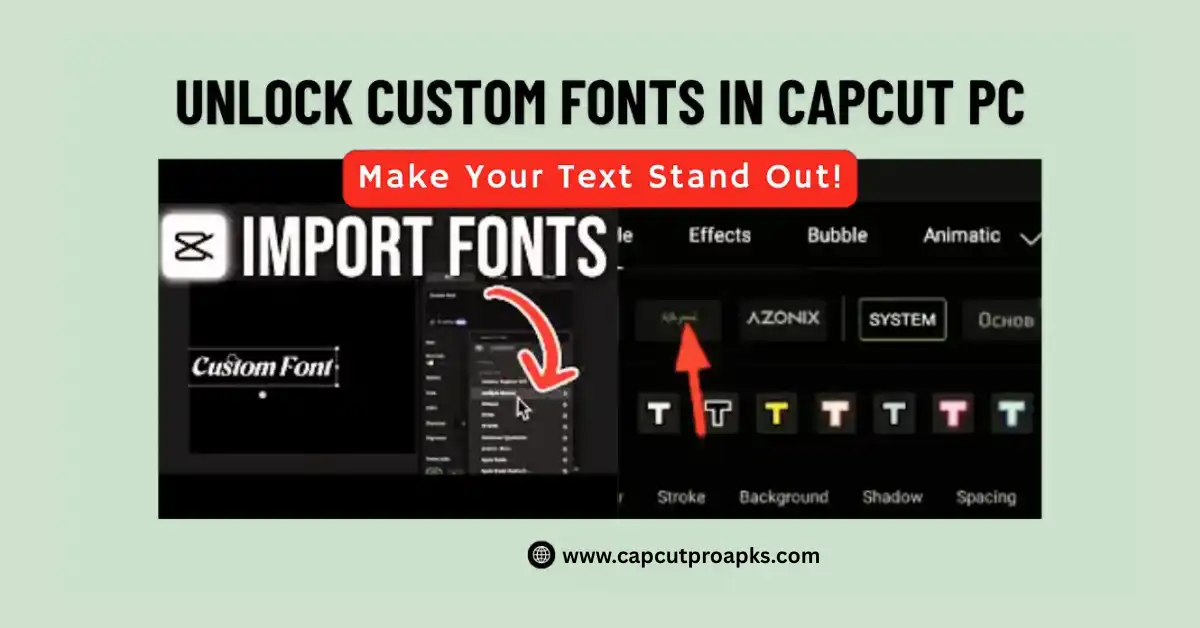
Introduction
You’re editing in CapCut, right? And those fonts just look kinda boring? Yeah, same here — they don’t always fit the mood you want.
Well, here’s the good news — you can add your own fonts to CapCut Pro APK for PC and give your videos that unique, branded look you want. Whether it’s a bold title font for YouTube or a soft script for Instagram reels, you can make CapCut truly yours.
In this guide, I’ll walk you through exactly how to add your own fonts to CapCut PC, step by step. We’ll cover where to find free fonts, how to install them properly, and a few pro tips for keeping things consistent across your projects.
So if you’ve ever thought, “Man, I wish CapCut had more font options,” — stick around. By the end, you’ll know how to turn your text into a creative signature.
Why Add Your Own Fonts to CapCut PC?
Let’s be real — fonts can totally change how your video feels. A simple text style can make your edit look cinematic, playful, or totally professional.
Adding custom fonts in CapCut PC gives you:
- Custom fonts let you be creative your way. You don’t have to use the same old fonts anymore. They help keep your videos looking fresh and match your brand if you make content online. And honestly, they make your edits look way more professional.
Imagine creating a gaming intro with a strong techno font or a travel vlog with a handwritten one. That’s how you make your edits feel personal — and memorable.
What You’ll Need
Before we start, here’s what you’ll need on your PC:
- CapCut for PC (latest version) – Download here.
- A .TTF or .OTF font file (you can download these for free).
- A few minutes to follow along.
That’s it! Now let’s jump into how to do it.
Step 1: Download Your Desired Font
Okay, first up — find a font that really fits your video. Google Fonts has clean stuff, DaFont has all the cool creative ones, and Adobe Fonts? Totally pro. Just double-check the license before using it. Once you’ve got your pick, hit download, unzip it, and save that font file where you can grab it fast later.
Step 2: Install the Font on Your PC
CapCut PC uses your system fonts. That means once a font is installed on your computer, CapCut can detect it automatically.
Here’s how to install it:
- Find your font file (like MyFont.ttf).
- Right-click it and select Install or Install for all users.
- Wait a few seconds — and done!
Tip:
If you’re on Windows, you can also drag your font file directly into:
C:\Windows\Fonts
That’s it! Now your font is part of your system.
Step 3: Open CapCut PC and Access Fonts
Now comes the fun part.
- Open CapCut on PC.
- Create a new project or open an existing one.
- Click Text in the toolbar.
- Choose Add Text or Auto Captions (if you’re using subtitles).
- Select the Font dropdown menu.
After you install it, check the font list — your new one should be there. If it’s missing, don’t stress. Just restart CapCut, and it’ll usually show up after that.
Step 4: Apply and Customize Your Font
Got your custom font? Nice. Let’s make it pop.
After selecting your new font, you can:
- Adjust size, color, and spacing.
- Add shadows or glow for extra style.
- Use animation presets to make text appear smoothly.
This is where your creativity shines. Play around with bold titles, soft intros, or cinematic lower-thirds.
Pro Tip:
Keep a few font pairs ready — one for headings and one for subtitles.
It keeps your videos looking clean and balanced.
Step 5: Save Font Presets for Future Projects
If you’re using CapCut for YouTube, TikTok, or client work, consistency is key.
Instead of redoing everything each time:
- Apply your favorite custom font.
- Adjust styles (color, shadow, spacing, etc.).
- Save it as a preset.
This way, you can use the same font setup for all your future videos — super handy for branded content.
Step 6: Troubleshooting (If Font Doesn’t Show Up)
- Sometimes CapCut doesn’t see a new font right away — don’t worry, it happens! You can fix it fast. First, close CapCut and open it again. If that doesn’t help, reinstall the font and pick “Install for all users.” Make sure your font ends with .TTF or .OTF — those are the right types. Also, check the font name. If it has weird symbols, rename it to something simple.
- Update CapCut to the latest version.
If you’re still stuck, reinstall CapCut from the official site.
Bonus: How to Use Custom Fonts Across Devices
Let’s say you edit both on PC and mobile — you’ll want your fonts available everywhere.
Sadly, CapCut doesn’t automatically sync custom fonts between devices yet.
But here’s a quick workaround:
- Upload your custom font file to Google Drive or Dropbox.
- Download it manually on your Android or iPhone CapCut app.
- Install it from the text menu → “Upload font.”
This keeps your videos looking consistent no matter where you edit.
Best Sites to Find Custom Fonts
Here are a few more trusted spots to grab amazing fonts safely:
- Font Squirrel – 100% free for commercial use.
- Behance Fonts – Designer-created fonts with style.
- Creative Market – Premium fonts for pro branding.
If you want that cinematic or minimalist vibe, you’ll find perfect options there.
My Honest Tips (from Real Editing Experience)
I’ve been using CapCut for a while, and honestly, using your own fonts is a game changer.
Here’s what I’ve learned:
- Avoid using too many fonts in one video — it looks messy.
- Stick to 2–3 fonts max (main, subtitle, and accent).
- Use bold, readable fonts for YouTube intros.
- Save all your fonts in one folder for easy access.
And most importantly — always back up your font files when switching computers.
Quick Recap
Let’s quickly go over what we’ve done so far:
| Step | What to Do | Result |
| 1 | Download font (.TTF/.OTF) | Font ready |
| 2 | Install it on PC | System font added |
| 3 | Open CapCut PC | Detects new font |
| 4 | Apply and style | Custom design |
| 5 | Save preset | Reuse easily |
| 6 | Troubleshoot | Fix any issues |
Now you know exactly how to add your own fonts to CapCut PC and use them like a pro.
Extra Tip: Combine Custom Fonts with Brand Colors
If you’re building a personal or business brand, use your font + color combo consistently.
For example:
- Use your main brand color for titles.
- Keep your font style uniform across all videos.
- Save them as templates in CapCut PC.
That small touch makes your videos look cohesive and professional.
Conclusion
In the above article, I’ve covered how to add your own fonts to CapCut PC step by step — from downloading and installing to applying and saving presets.
Using custom fonts is an easy way to give your videos a cool, fresh look. It shows your style and makes your edits pop. If you’re a creator or just love editing, try it out! And hey, let me know in the comments if this worked for you — I’m always happy to chat.
FAQ’s
Q1. Can I upload custom fonts in CapCut PC?
Yes! You can install fonts on your computer, and CapCut PC will detect them automatically once you restart the app.
Q2. What font types work in CapCut PC?
CapCut supports standard .TTF and .OTF font files. Just install them on your Windows PC.
Q3. Why can’t I see my font in CapCut PC?
Restart CapCut or reinstall the font. Make sure the font name doesn’t include special characters and is installed system-wide.


