
How to Expert Keyframe Animations in CapCut on PC? Pro Editing Guide 2026
Master keyframe animations in CapCut on PC with this 2026 step-by-step guide. Smooth motion, layering effects, and pro tips for creators.
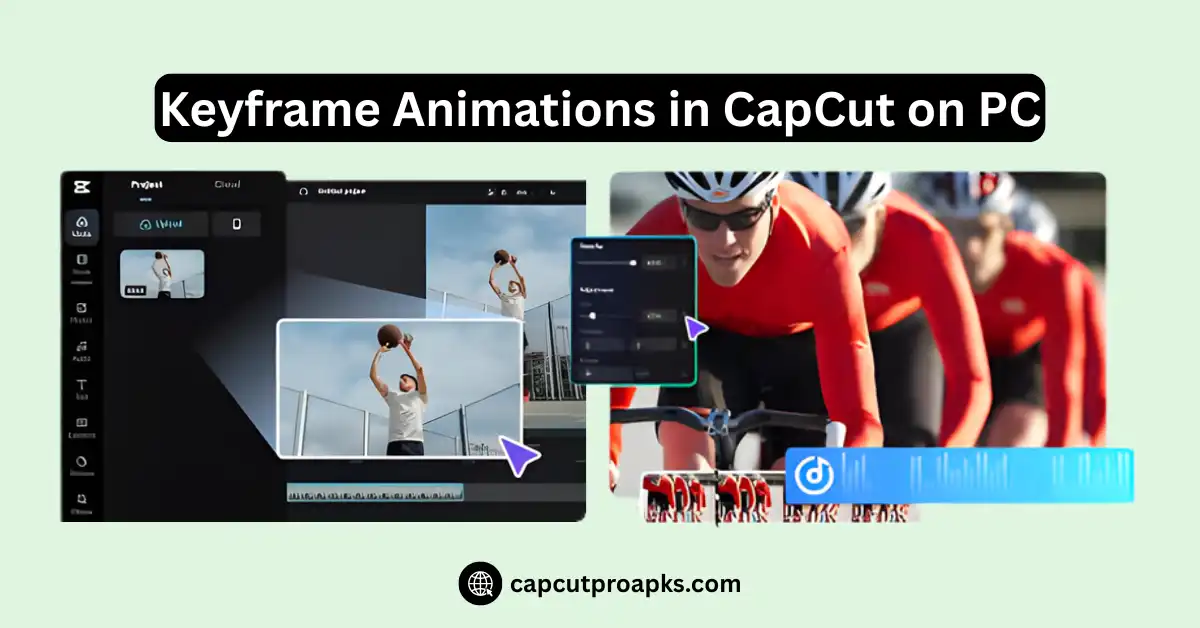
Introduction
Real talk now. You want your videos to have motion that makes people stop scrolling. Not just sit there like a boring screenshot. That’s exactly why keyframe animations in CapCut on PC are a game-changer. You know, everyone scrolls past static clips in a second. You want your audience to stop, watch, and actually care. Keyframes do that. They make your text slide, your images bounce, and your graphs come alive. Honestly, even if you’re messing around with CapCut Pro APK or trying free tools, this guide will make sense. Step by step, no jargon, no fluff. Just real action that works.
I’ll also toss in tips for CapCut Pro, CapCut for Mac, and CapCut for iOS because, well, creators move between devices. You need stuff that actually works everywhere. By the end, even if this is your first time animating, your videos will look clean. Your first tries will look like you spent weeks perfecting them.
Why Keyframe Animations Matter
Keyframes aren’t just nerdy graphs or dots on a timeline. They’re instructions. They tell CapCut how stuff should move, when it should move, and how fast. No motion means no life. Simple as that. People scroll past flat videos every day. Creators add movement to keep eyes locked in. Static clips don’t stand a chance.
Pro tip: CapCut Pro APK unlocks smoother animations. The free version is okay, but Pro feels smooth. Small moves like fades make a big difference. That’s the power of keyframes.
Getting Started with Keyframes in CapCut on PC
Step 1 – Import Your Clip
Put your clip on the timeline and move forward. Overthinking wastes time. A tidy timeline keeps edits fast. A clean timeline = smooth animations. Messy clips = headaches.
Step 2 – Adding Your First Keyframe
Select your clip and find that little diamond icon. Click it. Boom—first keyframe. That’s your starting point. Even beginners can understand this: the first keyframe sets the baseline. Nothing happens without it.
Tip: Zoom in on the timeline. Tiny misalignments will make your motion look jerky.
Step 3 – Adjust Clip Movement
Move your playhead where the next action should happen. Scale, rotate, or move the clip. CapCut automatically adds a new keyframe. Speed matters. Quick movement grabs attention. Slow movement feels cinematic.
Pro tip: Don’t go overboard. Too many fast keyframes = chaos.
Step 4—Fine-Tuning Motion
Use the graph editor to adjust the curves. Speeding up and slowing down changes everything.
Pro tip: Ease in and ease out. Linear motion looks robotic. Even beginners notice smoother motion immediately.
Step 5 – Layering Keyframe Effects
Combine motion, scale, opacity, and rotation. Zoom in while fading text. Make graphs bounce gently. This is where videos start looking professional.
Even free users can do this. CapCut Pro Mod APK makes it smoother and faster.
Why Keyframes Are a Game-Changer
Keyframes = control. You can animate anything:
- Text
- Images
- Graphs
- Stickers
- Effects
Instead of guessing how your video should feel, keyframes let you design movement. It’s like telling your video, “Move like this, not like that.” Creators swear by it. Even small animations make content look polished. And polished content gets more views. Period.
Pro vs Free Version
Pros of Using Keyframes:
- Total control over motion
- Makes videos engaging and dynamic
- Works for text, images, and clips
- The free version can handle basic animations
- The pro version adds smoothing, extra curves, and a better workflow
Cons
- Learning curves take time
- Too many keyframes = cluttered timeline
- Over-animating can distract viewers
- Free users lack advanced smoothing
Tips From Real Creators
- Always preview at full speed. Jerky movement sticks out.
- Save often. CapCut crashes can ruin hours of work.
- Keep movements subtle. Overdoing it looks messy.
- Zoom in when editing labels or elements. Misaligned keyframes = confusion.
- Stick to 2–3 colors for graphs and visuals. Don’t get flashy.
- Keep fonts readable. Sans-serif is your friend. CapCut Pro APK Download adds extra fonts.
- Layer effects carefully. Easy wins first, bro. Stack the hard moves after you get comfortable.
Common Mistakes to Avoid
- Clipping keyframes too close together → jerky motion
- Forgetting to zoom into the timeline → misalignment
- Overloading motion → distracts the audience
- Ignoring smoothing tools in CapCut Pro → robotic motion
- Animating every single element → chaos
Animating Graphs with Keyframes
Graphs aren’t just boring bars. They tell a story. People scroll fast. Visuals stop them. That’s why graphs are everywhere with YouTube and TikTok educators. Static spreadsheets? Nah. Graphs animated with keyframes? Boom, attention grabbed.
Pro tip: Use CapCut Pro APK Download Latest Version for smoother curves. The free version still works, but takes patience.
Fine Details Matter
- Tiny graphs on big screens? Bad idea. Zoom in.
- Colors: max 2–3. No flashy gradients.
- Fonts: readable. Sans-serif usually works.
- Subtle misalignments ruin perception.
You won’t get a movie-level result right away. That comes later. Practice and small fixes make it better.
Exporting Your Animated Clips
Once done: export. Check resolution, frame rate, and playback speed.
CapCut Pro users: faster rendering, better quality, extra formats.
Free users? Still solid output. Just takes longer.
Multi-Device Editing Tips
Keyframes work the same on CapCut for Mac, iOS, and PC.
Tip: Save project files and backups. Switching devices? Don’t lose progress.
Pro tip: Some features are platform-specific. Check before animating.
Pros and Cons of Using Keyframes in CapCut
Pros
- Smooth, professional animations
- Works on multiple elements
- Can make static videos pop
- Free and Pro users can both benefit
- Helps convey info clearly
Cons
- Takes time to master
- Can be confusing for beginners
- Overuse looks messy
- Free users lack advanced tools
Conclusion
In the above article, I have covered everything about keyframe animations in CapCut on PC. From importing clips to adding keyframes and fixing motion curves, you now have a clear path. Beginners and pros can follow these steps to make videos look clean and professional. Free users can do a lot, while CapCut Pro APK Download makes things smoother with extra tools. If this helped you, drop a comment or ask a question below.
FAQs
Q: What is the use of keyframes in CapCut?
Keyframes are like little checkpoints for your clip. They tell CapCut when to move stuff, rotate it, or fade it in and out. Without them, your edits just sit there.
Q: How to make keyframes faster in CapCut?
Simple—bring your keyframes closer on the timeline. Objects move faster between them.
Q: What is the purpose of keyframes in animation?
They give you full control. You decide the start point, end point, and CapCut does the in-between.
Q: How do you show keyframe animation in CapCut PC?
Click your clip, then look for the tiny diamond on the timeline. That’s your keyframe marker.
Q: Is CapCut good for filmmaking?
You can edit clips, animate graphics, add text, use keyframes, and even do green screen stuff.


